
What you actually need
Sushi has a reputation for demanding specialist equipment. Most of it is optional. The honest triage looks like this — and notice that the only item you cannot substitute your way around is the edge.
| Item | Verdict | Why |
|---|---|---|
| Japanese short-grain rice | Essential | Its starch makes grains cling while staying separate. Long-grain will not hold a shape. |
| Rice vinegar, sugar, salt | Essential | The three-part seasoning that turns rice into shari. Nothing exotic required. |
| A sharp knife | Essential | The one thing with no substitute. It decides how the fish and the rolls look. |
| A wide, shallow container | Essential | So rice sits in a thin layer and the vinegar reaches every grain. A metal tray works. |
| Fan (or a stiff sheet of card) | Essential | Drives off surface moisture as you fold. This is where the gloss comes from. |
| Nori and a rolling mat | Only for maki | Needed for rolls; irrelevant for nigiri or chirashi. |
| Hangiri (wooden tub) | Nice to have | Traditional, and it does absorb moisture — but it needs soaking and careful drying or it moulds. |
| Akazu (red vinegar) | Nice to have | Edo-style depth, and it lets you drop the sugar. A flavour choice, not a requirement. |
| Moulds, presses, roll kits | Skip | They compress the rice, which is exactly what you are trying to avoid. |
About that wooden tub
A hangiri (also called a handai or sushi oke) is a wide, flat-bottomed cypress tub. It earns its reputation for two reasons: the rice never stacks up, so the vinegar distributes evenly and steam escapes instead of condensing; and the untreated wood absorbs excess moisture. The first reason is the important one — and a large metal tray gives you the same width for a fraction of the price. The second is largely covered by fanning. If you make sushi twice a year, a tub that must be soaked before use and bone-dried after it is genuinely more trouble than it is worth.
About red vinegar
Akazu is brewed from aged sake lees rather than rice, which gives it an amber-brown colour and far more umami. Because that depth replaces some of the sweetness, Edo-style shari made with akazu uses little or no sugar. It is a style, not a standard — plain rice vinegar makes excellent sushi, and starting there means one fewer variable while you learn. If you switch later, cut the sugar to a third or less.
The rice, in numbers
Home recipes usually give sushi vinegar in tablespoons, which is why home shari is so inconsistent — a tablespoon of sugar and a tablespoon of salt are wildly different weights. Professionals scale the seasoning as a percentage of the cooked rice weight, and once you do the same, every batch tastes the same. Weigh the rice after cooking, then work from these three numbers.
| Raw rice | Cooked weight | Vinegar (6%) | Sugar (3%) | Salt (1%) |
|---|---|---|---|---|
| 2 cups (300 g) | ~660 g | 40 ml | 20 g | 7 g |
| 3 cups (450 g) | ~1,000 g | 60 ml | 30 g | 10 g |
| 4 cups (600 g) | ~1,320 g | 80 ml | 40 g | 13 g |
A Japanese rice cup (gō) is 180 ml, about 150 g of raw rice. Cooked rice roughly doubles in weight.
Treat sugar as the dial. Three percent is the familiar, slightly sweet profile most people recognise from supermarket sushi; two percent is closer to a traditional counter; with akazu you can drop to one percent or none. Salt is the one number not to improvise with — one percent is what makes shari taste seasoned rather than merely sour.
The method, step by step
Firm rice, hot rice, wide vessel, fold — never stir. Everything else is detail.
Cook short-grain Japanese rice with about 10% less water
Rinse Japanese short-grain rice until the water runs almost clear, drain it for 15-30 minutes, then cook it with roughly 10% less water than usual. You are going to add liquid vinegar later, so the rice must start slightly firm and dry rather than soft.
Mix the sushi vinegar by weight, not by spoon
Season as a percentage of the cooked rice weight: about 6% rice vinegar, 2-3% sugar and 1% salt. For roughly 1 kg of cooked rice (3 Japanese cups of raw rice) that is 60 ml vinegar, 30 g sugar and 10 g salt. Stir until the sugar and salt fully dissolve; warm the mixture gently if needed, but do not boil it.
Turn the hot rice out into the widest vessel you own
Tip the rice out while it is still steaming into a wide, shallow container so the grains sit in a thin layer instead of a deep pile. A wooden hangiri is traditional, but a large metal tray or baking sheet works. Pour the vinegar over the back of a rice paddle so it scatters rather than soaking one spot.
Cut and fold the rice while fanning it
Slice through the rice with the edge of the paddle at a shallow angle and fold it over — never stir or press, which crushes the grains into paste. Fan the rice as you fold. The fanning drives off surface moisture and is what gives finished shari its gloss and separate, distinct grains.
Rest the shari at body temperature
Cover the rice with a clean damp cloth and let it come down to around body temperature, roughly 36-37C. Sushi rice is served warm, never fridge-cold: cold rice goes hard and chalky and mutes the flavour of the fish. Use it within a few hours and never refrigerate it.
Cut the neta, then shape or roll
Slice fish from a saku block with a very sharp knife in one long pull, about 7 mm thick for nigiri. For nigiri, wet your hands with tezu (water with a splash of vinegar), take about 18 g of shari, add a dab of wasabi and press lightly. For maki, spread rice thinly on nori, leaving a bare strip at the far edge, and roll with a mat.
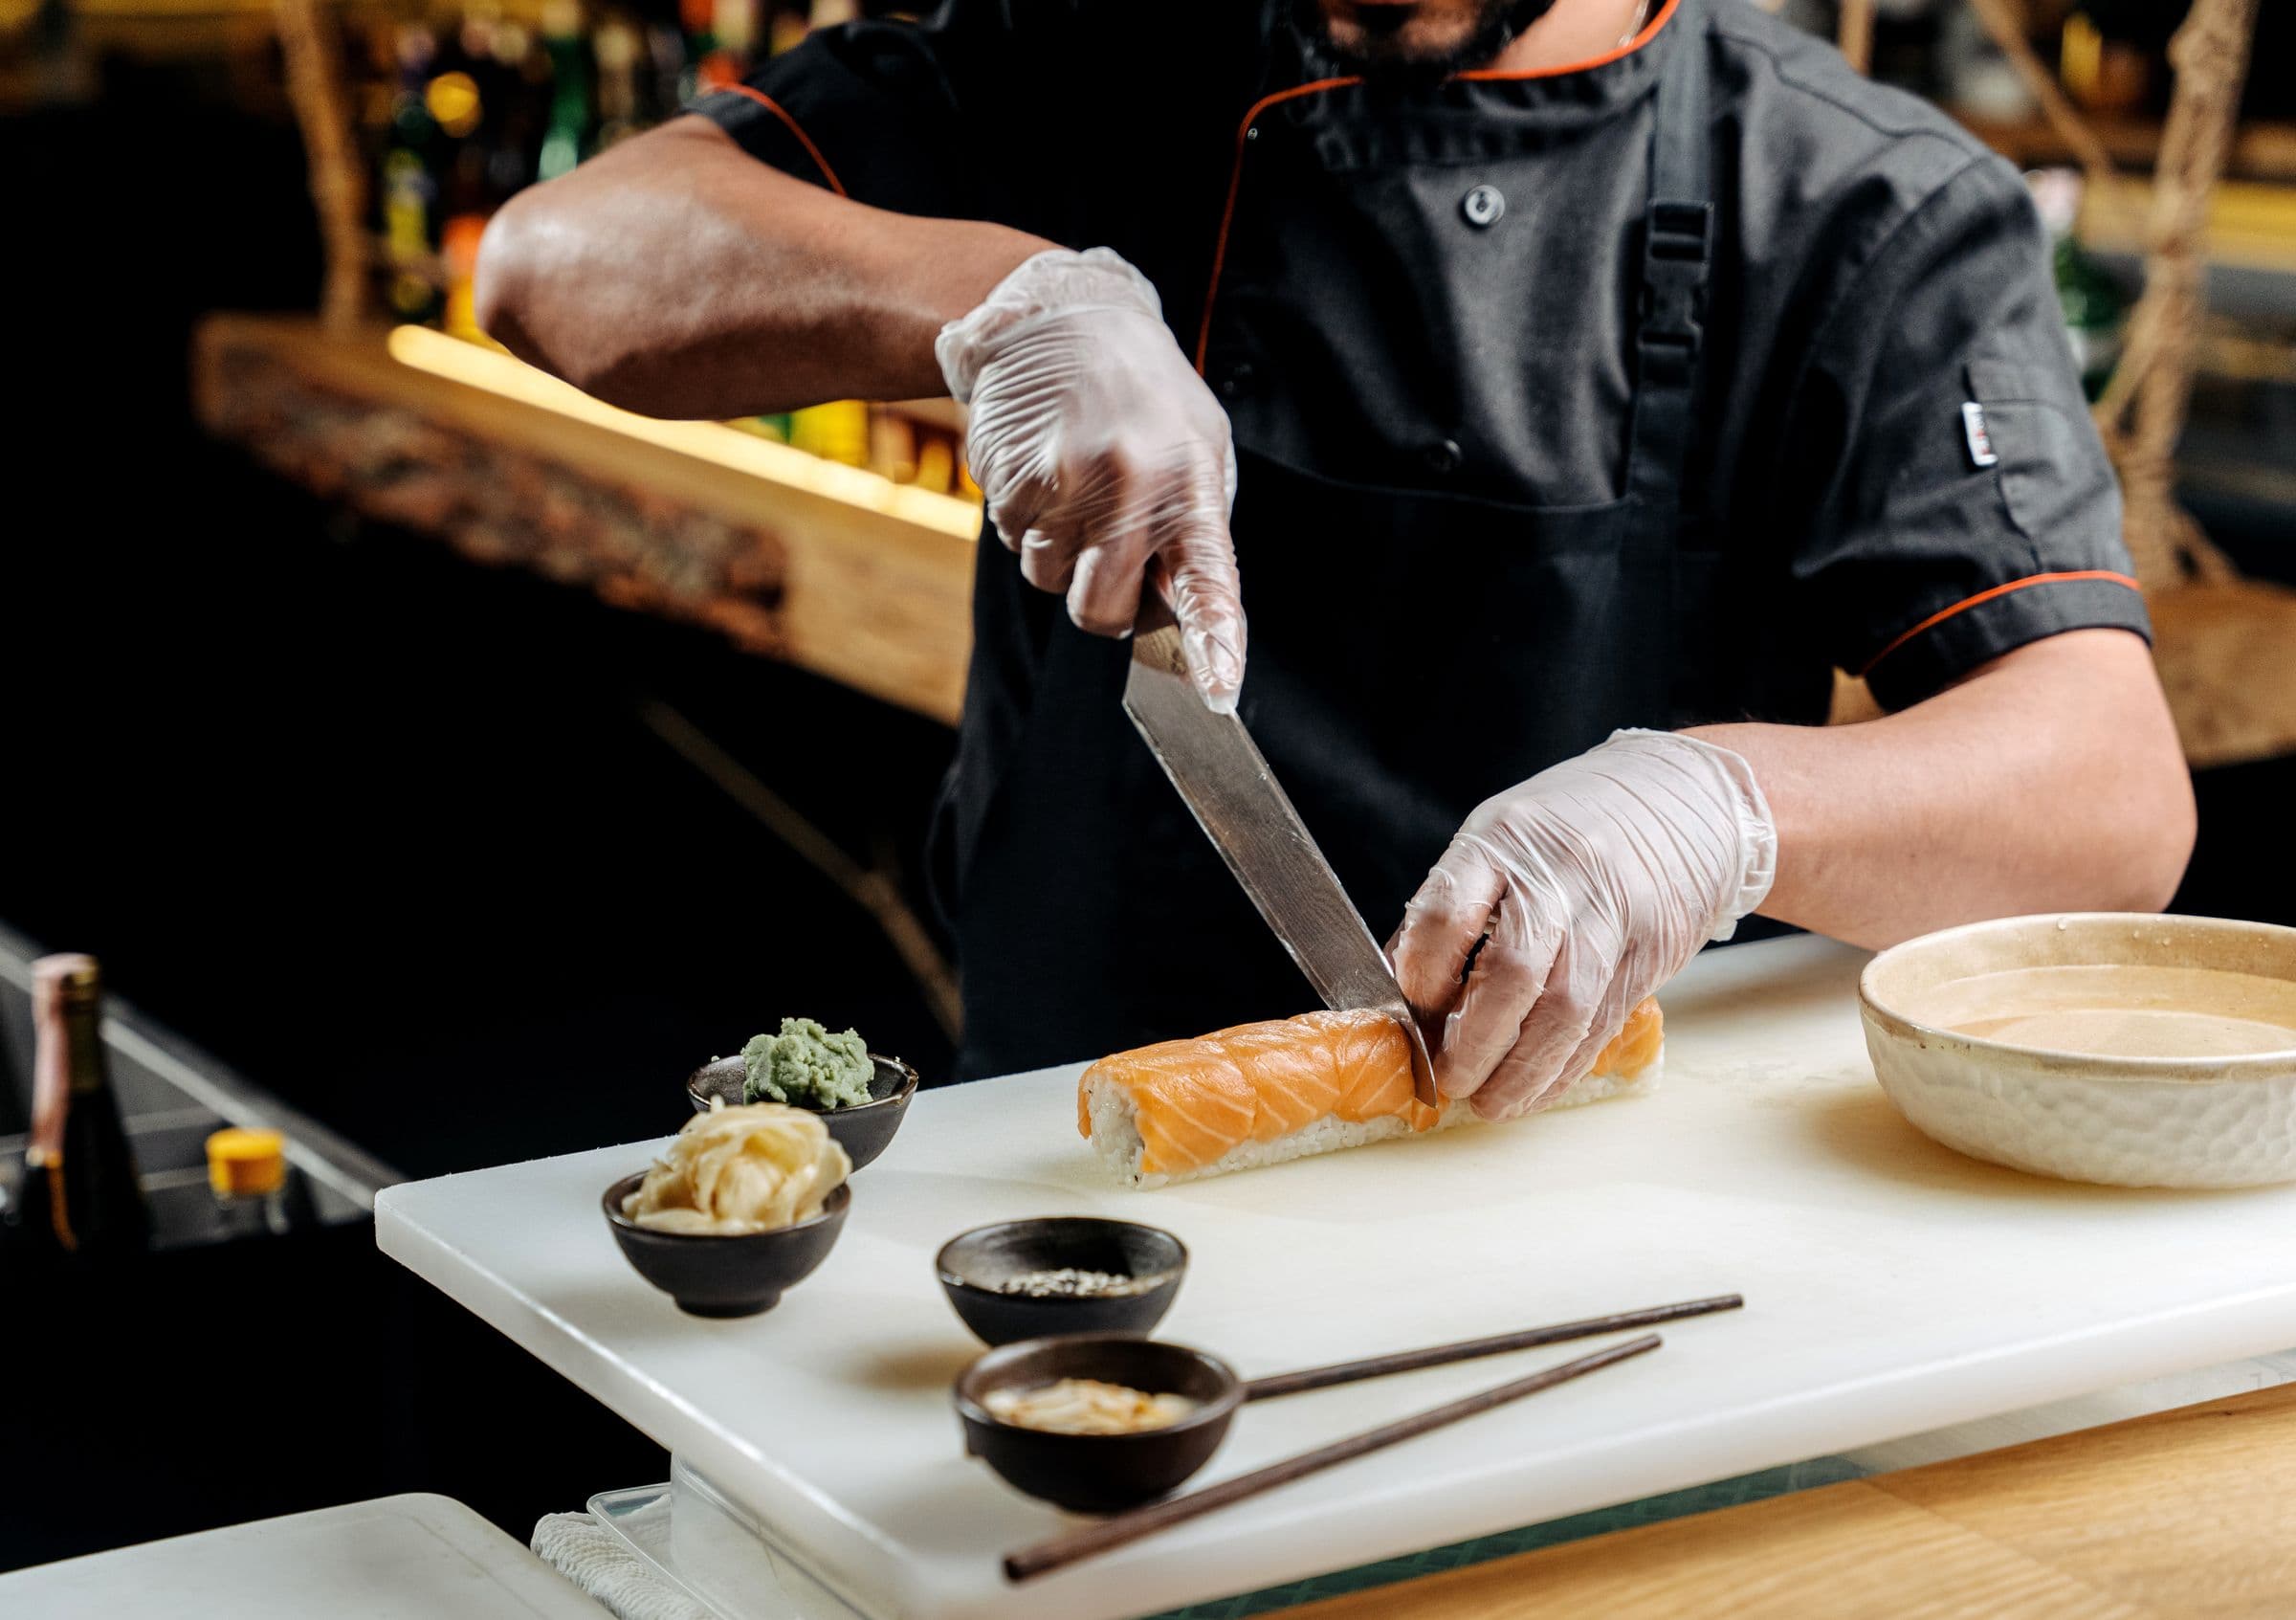
Cut rolls with a wiped, damp blade in single pulls
Wipe the blade with a damp cloth before every cut. Cut the roll in half, then each half into thirds, drawing the full length of the blade through in one pull with no downward pressure. A dull or dry blade crushes the roll and pushes the filling out of the end.
Two details in that list do most of the invisible work. Adding the vinegar while the rice is steaming hot lets it absorb into the starch instead of pooling at the bottom. And folding rather than stirring keeps the grains intact — once you have mashed them, no amount of seasoning brings the texture back.
Choosing and cutting the fish
Buy saku — rectangular blocks trimmed for slicing — rather than pre-cut sashimi. A block lets you cut each slice fresh, and a freshly cut face looks and tastes noticeably better than one that has been sitting in a tray.
On safety, be sceptical of labels. "Sushi-grade" is a marketing term, not a regulated standard in most countries. What actually addresses parasite risk is freezing, and the published thresholds are specific: US FDA guidance for fish to be eaten raw is −20 °C or below for seven days, or −35 °C until solid then held at −35 °C for 15 hours; EU rules require at least 24 hours at −20 °C throughout the product. Ask your fishmonger directly whether the fish met one of those conditions — a good one will know the answer.
Then cut it properly. Keep the block cold and patted dry, and draw the full length of the blade through in one pull — never saw. For nigiri, aim for slices around 7 mm thick and roughly 8–10 g, cut at a slight angle so they drape over the rice rather than perching on it. The traditional tool is the long single-bevel yanagiba; the double-bevel sujihiki is easier to live with and slices just as cleanly. If you are breaking down whole fish rather than buying blocks, that is a deba's job.
No good fish nearby? Sushi survives it. Tamago, cucumber, avocado, marinated mushroom and blanched asparagus are all legitimate — and they let you practise the rice, which is the part that actually needs practice.
Shaping nigiri (the kotegaeshi)
There is one sentence that explains every technique below: a good nigiri is firm on the outside and loose on the inside — it holds together in your fingers and falls apart in your mouth. Every mistake beginners make is a failure of one of those two halves. Squeeze too hard and you get a dense lump; handle it too timidly with cold rice and it collapses on the way to the plate.
The form below is kotegaeshi (小手返し) — the abbreviated version of the older hontegaeshi, and the one most professionals actually use. It is also the friendliest to learn, because the flip does most of the shaping for you.
Wet your hands with tezu — then wring them out
Tezu is water with a splash of rice vinegar. Dip your fingertips, then rub your palms together and shake off the excess: hands should be damp, never dripping. Too dry and the rice welds to your fingers; too wet and the shari turns soggy and refuses to hold a shape.
Form a loose shari ball in your right hand
Scoop roughly 15-20 g of shari — a little smaller than a ping-pong ball — and roll it gently between your fingers into a soft cylinder. Do not compact it. At this stage it should barely hold together; the structure comes later, from very little pressure.
Lay the neta across your left fingers and add wasabi
Rest the slice on the fingers of your left hand with the shiny side down, so it finishes facing up. Smear a small dab of wasabi along the middle with your right index finger. The wasabi is not only seasoning here — it is the glue that stops the topping sliding off.
Set the shari on the neta and press a dimple into it
Place the ball on the fish, then press the centre lightly with your right index finger to make a shallow dent. That dimple traps a pocket of air inside the piece, which is exactly what keeps a good nigiri light rather than dense.
Flip it — the kotegaeshi
Curl your left hand slightly and roll the piece towards your fingertips with your right hand so it turns over and the neta ends up on top. This flip is what gives the piece its smooth, rounded back. Keep the motion small and quick.
Two light presses, then turn it around and repeat
Press the top of the fish with your right index and middle fingers while your left hand closes gently underneath, then squeeze the two short ends with your right thumb and middle finger. Rotate the piece 180 degrees and do the same once more so both sides match. That is the whole thing — four or five light contacts in total.
Use the least pressure that survives the trip to the plate. There is no way to un-compact rice: every extra squeeze is permanent. If you are unsure, press too little — a piece that sags slightly is far better eating than a tight one.
What is going wrong, and why
Nearly every home failure traces back to one of four causes, and only one of them is about your hands.
| Symptom | Real cause | Fix |
|---|---|---|
| It falls apart | Rice too cold or too dry — not too little pressure | Use shari at body temperature, kept under a damp cloth |
| Dense and heavy | Too many presses; the air pocket is gone | Finish in 4–5 contacts; press a dimple in the ball first |
| The topping slides off | No wasabi between fish and rice | A dab of wasabi is the glue — do not skip it |
| Rice glues to your hands | Hands too dry, or dripping wet | Damp fingertips only; re-wet every few pieces |
Two practical habits make a bigger difference than anything else. Work fast and keep your hands cool — body heat melts the fat in the fish and softens the rice, and a piece that takes thirty seconds to build is already worse than one that took five. And roll all your shari balls first, keeping them under a damp cloth, so that once you start shaping you never stop to scoop rice with fishy fingers.
Finally, lower the bar for your first attempt. Even the sources that teach this insist that beginners should aim at getting the fish to stay attached to the rice, not at a beautiful boat-shaped piece. The shape comes from repetition — that part genuinely takes years, and there is no trick that skips it.
Rolling maki — and cutting it cleanly
Lay the nori shiny side down on the mat and spread the shari thinly, leaving a bare strip about 2 cm wide along the far edge to seal the roll. Resist the urge to load it: too much rice and filling is the single most common reason a roll splits. Lift the near edge of the mat, roll it over the filling, tighten once with gentle even pressure, then finish the roll forward.
Cutting is where a roll is made or ruined, and it is the same skill as slicing sashimi. Wipe the blade with a clean damp cloth before every cut so rice does not drag. Cut the roll in half first, put the halves side by side, then cut each into thirds — that way any error is shared evenly instead of accumulating down the roll. Draw the whole blade through in one long pull with almost no downward pressure.
A dull knife cannot do this. It compresses the roll before it parts the nori, so the filling squeezes out of the far end and the round cross-section turns into an oval. If your rolls have been coming out squashed, the fault is almost never the rolling — it is the edge. Ten minutes on a whetstone changes the result more than any technique in this guide.
Six mistakes that ruin home sushi
| Mistake | What it does | Fix |
|---|---|---|
| Fridge-cold rice | Hard, chalky grains; the fish tastes flat | Serve shari at body temperature, and never refrigerate it |
| Long-grain rice | Nigiri collapses; rolls fall apart | Japanese short-grain only |
| Stirring the rice | Crushed grains, pasty texture | Cut and fold with the paddle at a shallow angle |
| Skipping the fanning | Wet, dull-looking rice | Fan while folding to drive off surface moisture |
| Overfilling rolls | Splitting nori, filling pushed out | Thin layer of rice, restrained filling |
| A dull knife | Torn fish, squashed ovals instead of rounds | Sharpen first; wipe the blade between cuts |
The bottom line
Season the rice by weight, fold it warm in a wide vessel, and cut everything with one clean pull of a sharp blade. That is the whole craft — the tub and the red vinegar are refinements you can add years later.
Start with hand rolls or chirashi rather than nigiri. Both let you eat well on your first attempt while you learn the rice — and the rice is the part that transfers to everything else. When you do want to shape pieces, the kotegaeshi section above is the whole method, but be honest with yourself about the timeline: the shape takes years, the rice takes an afternoon. When you move on to slicing your own fish, read the sashimi guide next — and if you are choosing a knife for it, the yanagiba and sujihiki guides cover the real trade-off.
Frequently asked questions
Do I need a hangiri (wooden sushi tub) to make sushi at home?
No. A hangiri does two things: it is wide and shallow so the rice never stacks up and the vinegar reaches every grain evenly, and the untreated wood absorbs excess moisture. A large metal tray or baking sheet reproduces the first — which matters most — and fanning the rice handles the second. A hangiri also needs soaking before use and careful drying afterwards or it will mould, so for occasional cooking a tray is genuinely the better tool.
Do I need red vinegar (akazu) for sushi rice?
No. Akazu is vinegar brewed from aged sake lees; it is amber-brown and carries much more umami, so it needs little or no sugar. It is the Edo-style choice, not the correct one. Ordinary rice vinegar is the standard and makes excellent shari. If you do try akazu, cut the sugar to a third or less, because the vinegar already brings that depth.
What knife do I need to make sushi at home?
For hand rolls and chirashi, any genuinely sharp knife will do. A dedicated slicer earns its place in two jobs: cutting a saku block into neta, and cutting finished maki rolls without crushing them. The traditional tool is the single-bevel yanagiba; a double-bevel sujihiki is a more forgiving alternative. Sharpness matters far more than which knife you own — a dull expensive blade tears fish and squashes rolls.
How do you shape nigiri so it doesn't fall apart?
Counter-intuitively, nigiri usually falls apart because the rice is too cold or too dry, not because you pressed too gently. Use shari at body temperature, wet your hands with tezu (water with a little vinegar) but wring them out, and put a dab of wasabi between the fish and the rice — the wasabi acts as glue. Then use very few contacts: form a loose ball, press a dimple in it, flip the piece so the topping is on top, and give it two light presses per side.
How much pressure should you use when making nigiri?
The least that survives the trip to the plate. The goal is a piece that is firm on the outside and loose on the inside, so it holds together in your fingers and falls apart in your mouth. Press a shallow dimple into the rice ball at the start to trap air, and finish the piece in four or five light contacts. Every extra squeeze compacts the rice further, and a dense, heavy nigiri cannot be rescued once it is packed.
Can I use normal rice for sushi?
Use Japanese short-grain rice. Its higher amylopectin content makes the grains cling together enough to hold a shape while staying distinct. Long-grain rice such as basmati or jasmine has the opposite starch profile and will not hold together as nigiri or in a roll, no matter how it is seasoned.
Is supermarket fish safe to eat raw?
Not automatically. "Sushi-grade" is a marketing term, not a regulated standard in most countries. What actually reduces parasite risk is freezing: US FDA guidance for fish intended to be eaten raw is −20 °C or below for seven days, or −35 °C until solid and held at −35 °C for 15 hours, and EU rules require at least 24 hours at −20 °C throughout the product. Ask your fishmonger whether the fish was frozen to those conditions, and buy whole saku blocks rather than pre-sliced fish.
How long does sushi rice keep?
Use it the day you make it, kept covered with a damp cloth at room temperature. Refrigerating shari is the fastest way to ruin it: the cold makes the starch retrograde, and the grains turn hard and chalky. If you have leftovers, they are better fried the next day than eaten cold as sushi.
Cutting your own neta and maki?
Explore the knives built for the job. Our curated shelf opens soon — join the waitlist.
The yanagiba guide →