
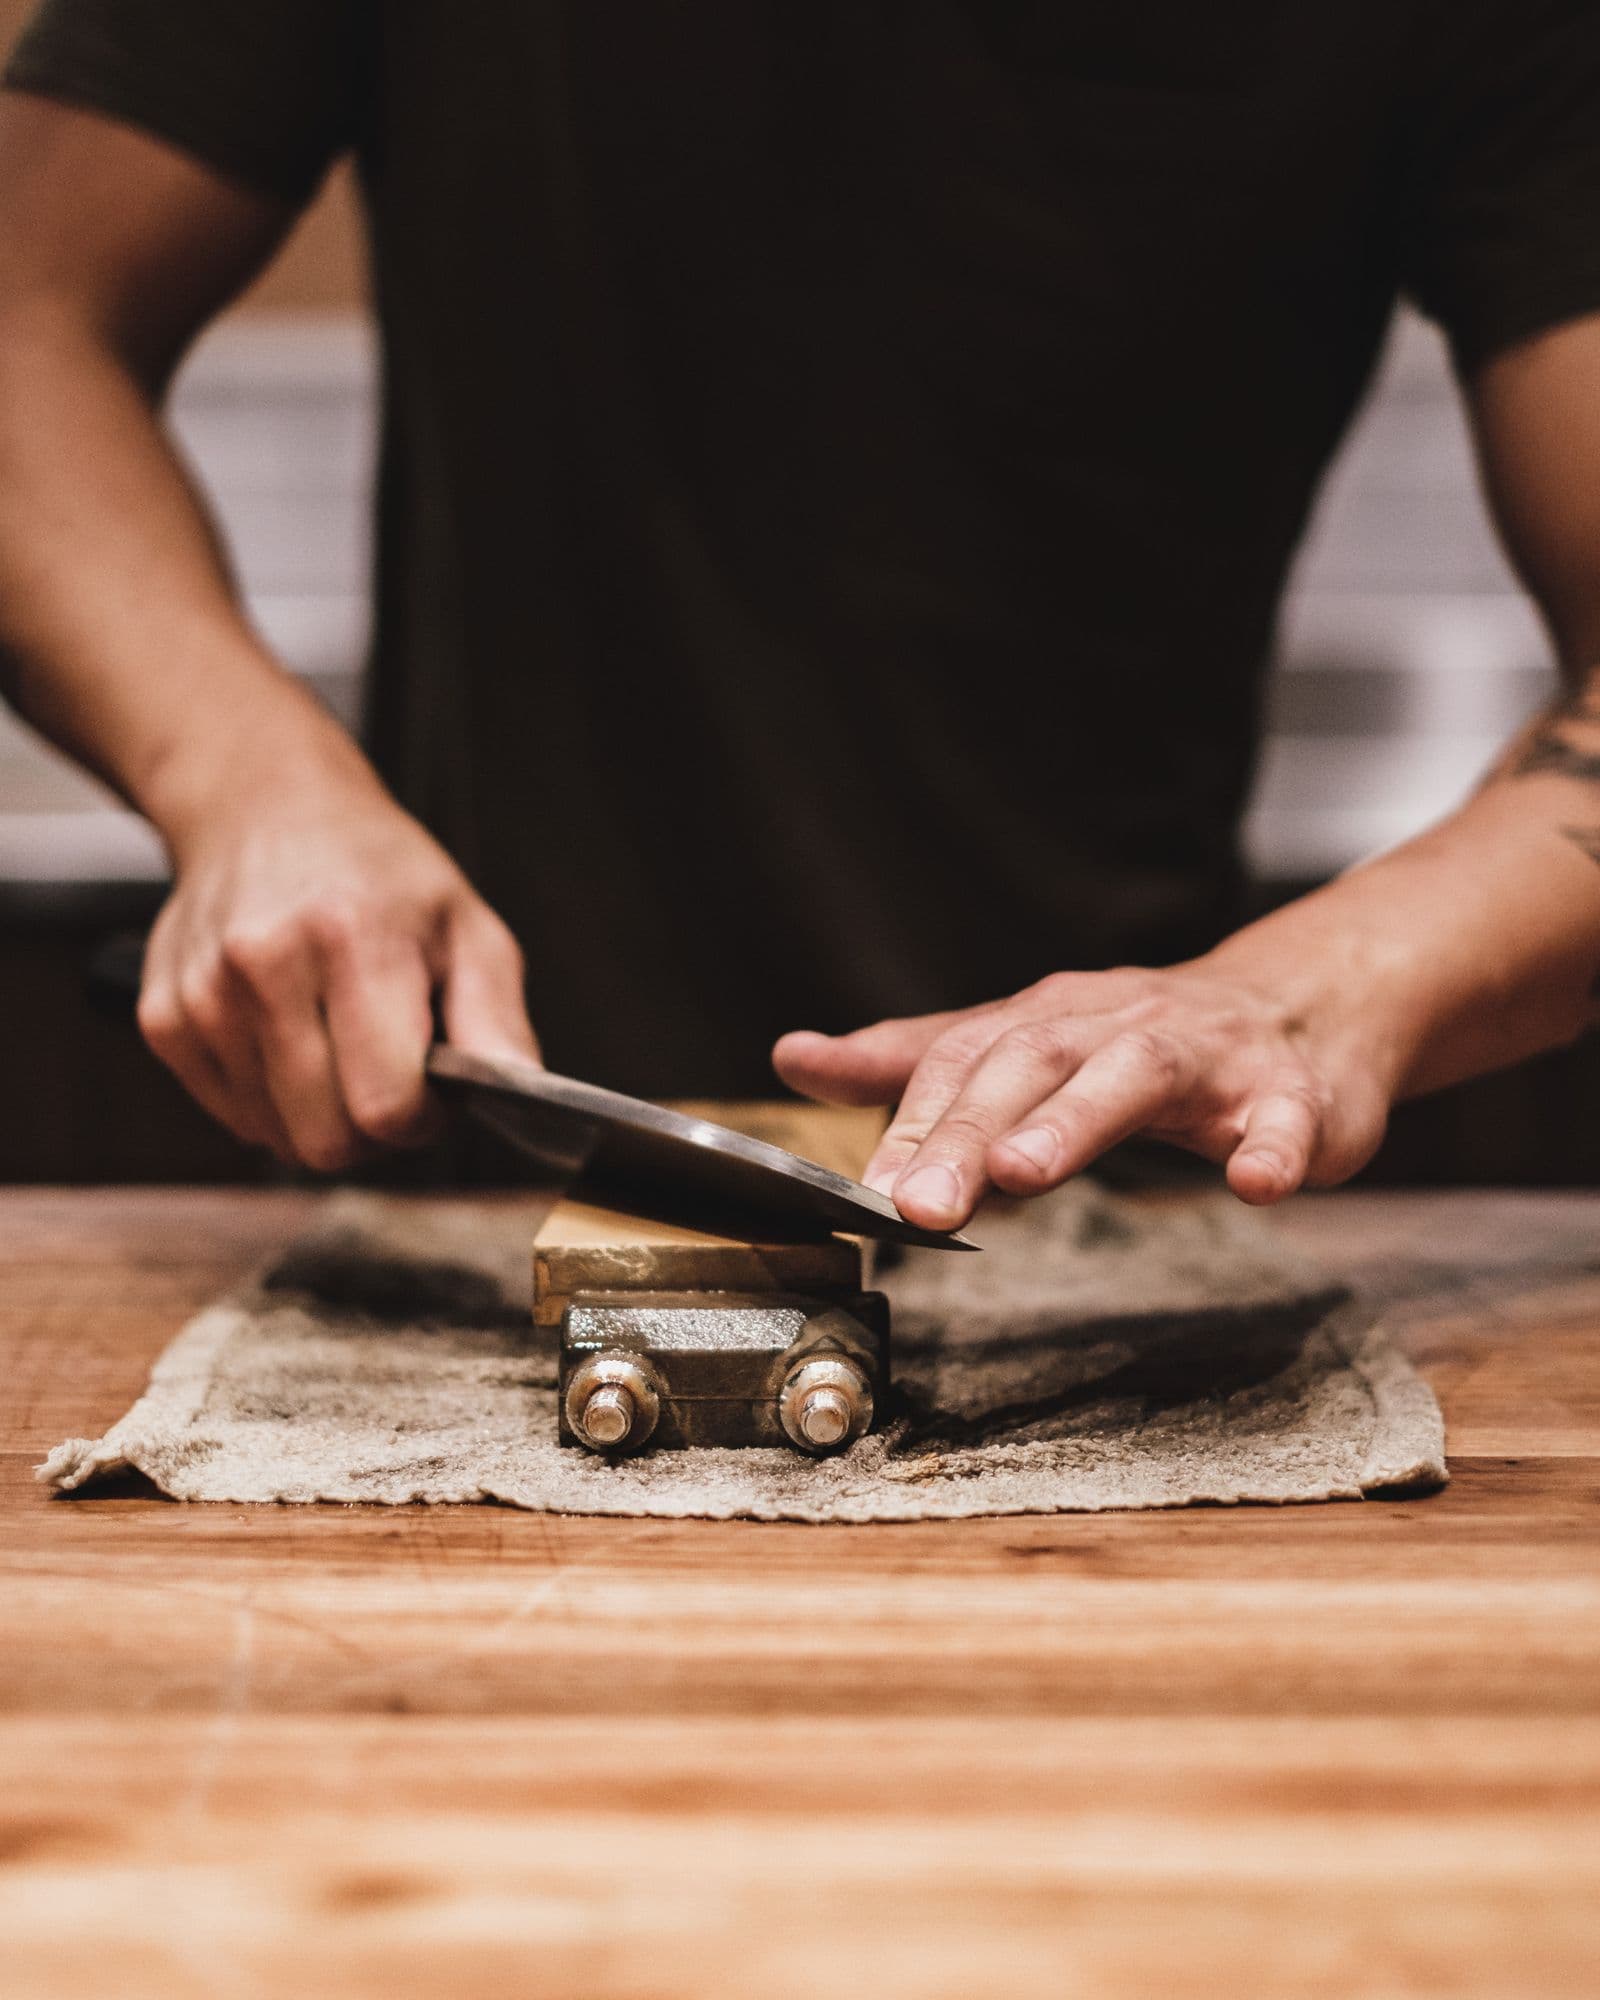
Why a whetstone (and not a rod or pull-through)
Japanese knives are hard and thin — that's what makes them so sharp — but it also makes their edges more brittle than a soft Western knife. A honing steel or a pull-through sharpener can chip that edge or grind away far more metal than necessary. A whetstone removes exactly as much as you choose, lets you set the angle, and can take an edge far finer than any gadget. It's the tool these knives were designed around.
The stones you need
Grit numbers work like sandpaper: lower is coarser and removes metal fast; higher is finer and refines. You don't need many:
- #1000 — the workhorse. Does the actual sharpening. If you own one stone, own this.
- #3000–6000 — finishing. Refines and polishes the edge for that last bit of keenness and glide.
- #220–400 — coarse. Only for fixing chips or reprofiling a badly dull edge. Most people rarely need it.
The easiest first purchase is a #1000/#6000 combination stone — sharpening and finishing in one block. Add a flattening stone to keep it true (more on that below). Grit standards, soaking vs splash-and-go and the different stone types are explained in which whetstone to buy.
Before you start
- Wet the stone. Soaking stones sit in water 5–10 minutes, until bubbles stop; splash-and-go stones just need the surface wetted. Keep it wet throughout.
- Stabilise it. Use a stone holder, or set it on a damp towel on a solid counter so it can't slide.
- Get comfortable. Stone square to your body, good light, no rush. This is a calm ten minutes, not a race.
Finding the angle
For a double-bevel knife, aim for about 15° per side. You don't need a protractor: the gap under the spine is roughly the thickness of two stacked coins. What matters far more than the exact number is holding the same angle through every stroke — a consistent 13° or 17° will out-sharpen a wandering 15°. Lock your wrist, move from the shoulder, and let the angle stay put.
The method, step by step
- 1. Sharpen the first side. Lay the edge on the stone at your angle, fingertips of your other hand pressing lightly over the section you're working. Push the blade away and pull it back with light, even pressure, working the edge in three or four sections from heel to tip.
- 2. Raise a burr. Keep going on each section until you can feel a tiny wire of metal — a burr — on the opposite side of the edge, along its whole length. The burr is proof you've sharpened all the way to the apex. Check it by wiping a fingertip off the edge (never along it).
- 3. Do the other side. Flip the knife and repeat, matching your angle and strokes, until the burr forms on the first side.
- 4. Refine on the finishing stone. Move to #3000–6000, drop the pressure right down, and do a few light strokes per side to polish the edge and shrink the burr.
- 5. Deburr. Finish with very light, alternating edge-leading strokes, one side then the other, to break off the last of the burr. A few passes on the finishing stone — or a strop on leather or newspaper — leaves a clean, keen apex.
Testing the edge
A sharp knife should slice printer paper cleanly without snagging, glide into a tomato under its own weight, and bite into your thumbnail rather than skating across it. If it slips on the tomato skin or tears the paper, you've missed a section or left a burr — go back to the #1000 and rework it.
Keep your stone flat
Stones wear hollow ("dish") in the middle with use, and a dished stone can't put a straight edge on a knife. Every few sessions, flatten the stone with a dedicated flattening plate (or wet/dry sandpaper on glass) until the surface is even again. It takes a minute and it's the step most beginners forget.
A note on single-bevel knives
This method is for double-bevel knives — gyuto, santoku, petty and the like. Traditional single-bevel knives (yanagiba, deba, usuba) are sharpened mostly on one side, with only a light touch on the flat back, and have a hollow-ground reverse that needs care. If that's your knife, read single bevel vs double bevel first.
Common mistakes
Do green lights
- Hold one consistent angle, every stroke
- Sharpen to a full burr before flipping
- Let the stone do the work — light pressure
- Keep the stone wet, and flatten it regularly
Don't red flags
- Use a pull-through or honing rod
- Press hard or rush the strokes
- Skip the burr check, or the finishing stone
- Sharpen on a dished, dry stone
The bottom line
One stone (#1000), one angle (~15°), one goal (raise a burr, then refine it away). Everything else is repetition — and repetition is how sharpening becomes easy.
Your first edge won't be perfect, and that's fine. Sharpening is a feel you build over a handful of sessions. Stick with it and you'll never dread a dull knife again — you'll just spend ten quiet minutes at the stone.
Frequently asked questions
What grit whetstone should I use for a Japanese knife?
For general sharpening, a #1000 stone is the essential workhorse — it will bring back almost any dull edge. Add a #3000–6000 finishing stone to refine and polish, and a coarse #220–400 only if you need to fix chips or a very damaged edge. If you buy one thing, make it a #1000/#6000 combination stone: it covers sharpening and finishing for most home cooks.
What angle should I sharpen a Japanese knife at?
For a double-bevel Japanese knife (gyuto, santoku, petty), aim for roughly 15° per side — a little lower than a typical Western knife because the steel is harder and thinner. An easy visual is the width of two stacked coins under the spine. Consistency matters far more than hitting an exact number: pick an angle and hold it steadily through every stroke.
Can I use a honing steel or pull-through sharpener on a Japanese knife?
Better not to. Hard Japanese edges are brittle compared with softer Western steel, and a honing rod or pull-through sharpener can chip or grind them badly, removing far more metal than needed. Japanese knives are designed to be maintained on whetstones. A smooth ceramic rod can lightly realign an edge in a pinch, but the stone is the real tool.
How do I know when the knife is sharp?
While sharpening, feel for a burr — a tiny wire of metal folded over to the opposite side of the edge, which tells you you've sharpened all the way to the apex. Once you've raised a burr along the whole edge, flipped, and refined it away on a finer stone, test the result: it should slice through printer paper cleanly, glide into a tomato with no pressure, and bite into your thumbnail rather than skate across it.
Do I need to soak my whetstone first?
It depends on the stone. Soaking stones should sit in water for about 5–10 minutes, until air bubbles stop rising; splash-and-go stones only need the surface wetted. Either way, keep the surface wet the whole time you sharpen — the water and swarf (the grey slurry) are part of how the stone cuts.
How often should I sharpen my knife?
Sharpen when the edge stops biting — when it slips on a tomato skin or won't cleanly slice paper. For a home cook that's often every few weeks to a couple of months, depending on use and steel. A quick touch-up on a #1000 and finishing stone takes only a few minutes; leaving a knife until it's truly blunt means much more work to bring it back.
A great edge starts with a great knife
Our curated shelf of Japanese knives — easy to sharpen, built to last — opens soon. Join the waitlist.
Explore the shelf →